Want to make money online without creating your own products? Dropshipping digital courses through a Shopify store might be your perfect business model. In this guide, we’ll show you how to sell other people’s online courses, take your own commission, and build a professional Shopify store in just a few days.
🔍 What Is Digital Course Dropshipping?
Digital course dropshipping is a business model where:
- You sell online courses created by others.
- You don’t handle content creation or delivery.
- You earn a profit margin or commission on each sale.
You act as the middleman or reseller, using your Shopify store as the front-facing sales platform.
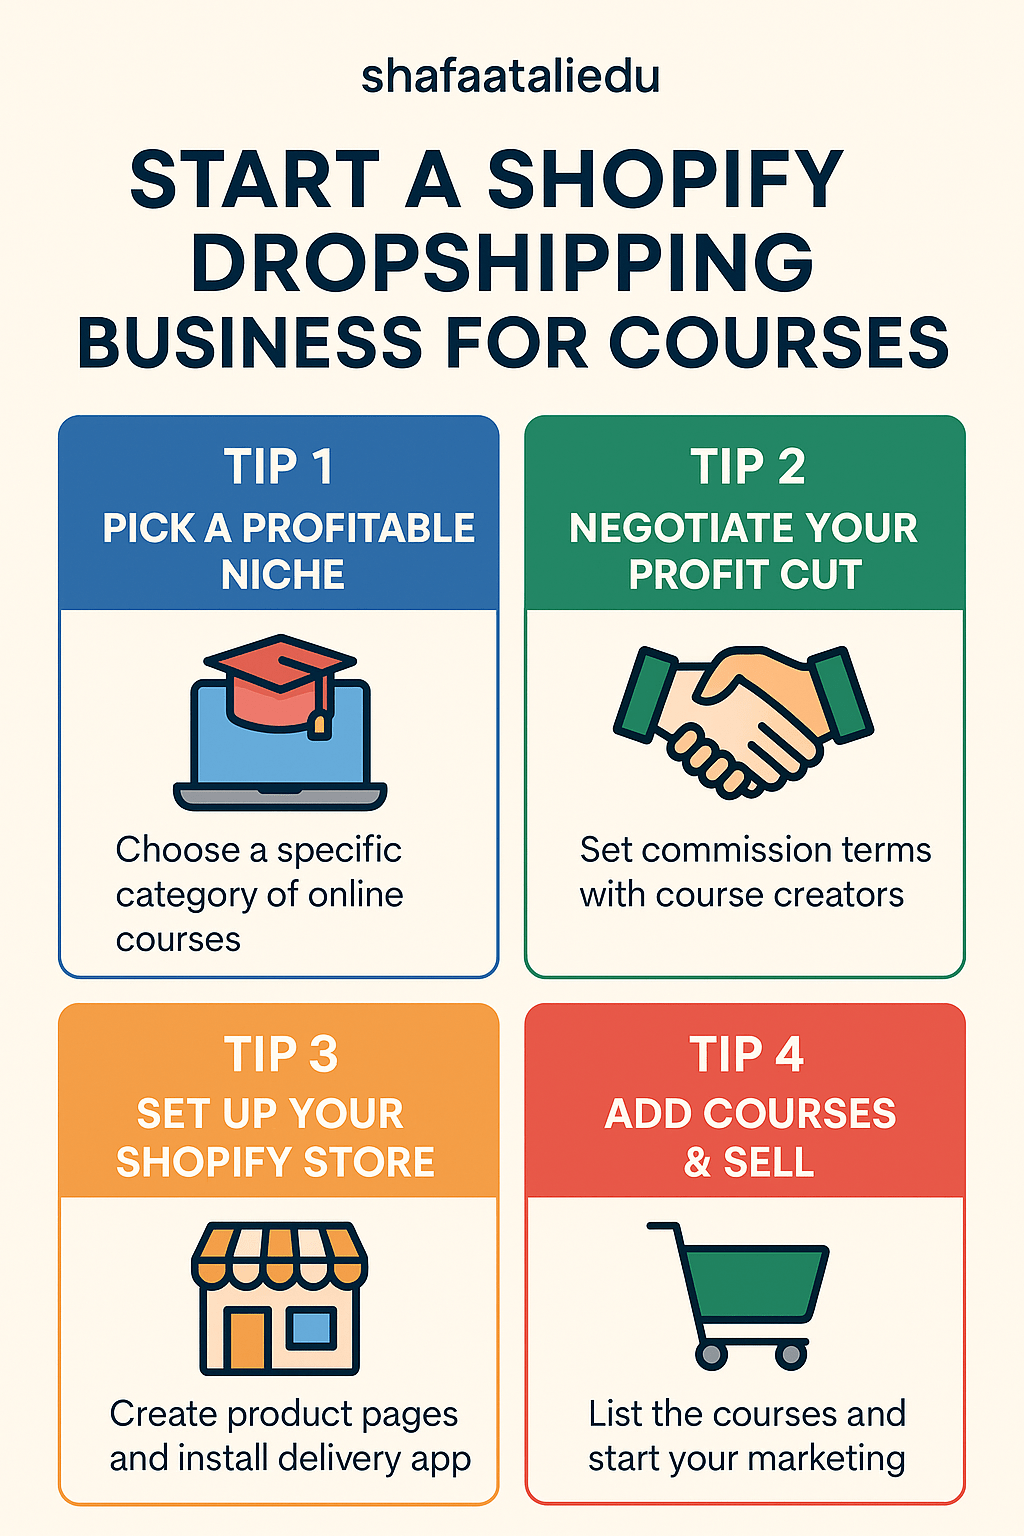
🚀 Step-by-Step Guide to Start Your Shopify Course Dropshipping Store
Step 1: Choose a Niche
Focus on a specific category of courses:
- Digital marketing
- Fitness and wellness
- Coding and tech
- Personal development
- Business and entrepreneurship
✅ Tip: Choose a niche that has high demand and you can market confidently.
Step 2: Find Course Creators Willing to Partner
You’ll need course creators who:
- Allow others to resell their courses.
- Offer a white-label or affiliate-friendly structure.
- Can deliver access automatically after payment.
🛠 You can find them on:
- Teachable or Thinkific communities
- Udemy instructors (outside the platform)
- Gumroad creators
- Facebook course creator groups
- X (Twitter) or LinkedIn DMs
Step 3: Set Commission Terms
Negotiate:
- Fixed price per sale (you add your markup)
- Or affiliate-style commissions (30–70%)
Make sure:
- The course creator handles delivery and support.
- You receive automated updates (e.g., via email or webhook).
Step 4: Set Up Your Shopify Store
- Create a Shopify Account
👉 Go to shopify.com and start a free trial. - Choose a Theme
Select a clean, mobile-optimized theme like Dawn, Craft, or Refresh. - Create Product Pages
For each course:- Add course title, description, preview (video/image), and pricing.
- Use urgency and social proof (e.g., reviews, testimonials).
- Install Digital Delivery App
Use apps like:- SendOwl (for instant access after purchase)
- Courses (Shopify-native app for online course delivery)
- Sky Pilot (for file/video access)
Step 5: Connect Payment & Checkout
- Set up Shopify Payments, Stripe, or PayPal.
- Ensure email automation is enabled to send access links.
Step 6: Market Your Store
Use free and paid channels:
- SEO: Write blogs around course topics.
- Pinterest/YouTube: Share tips related to the course themes.
- Facebook/Google Ads: Target people interested in learning that topic.
- Email Marketing: Collect emails with a lead magnet and promote courses.
⏱ How Much Time Does It Take?
| Task | Time Estimate |
|---|---|
| Niche & course sourcing | 2–5 days |
| Setting up Shopify store | 1–2 days |
| Product setup (5–10 courses) | 2–3 days |
| Payment & delivery automation | 1 day |
| Marketing setup (basic) | 3–5 days |
🕒 Total setup time: Around 7–14 days if working part-time.
💰 How Much Does It Cost?
| Item | Cost |
|---|---|
| Shopify Basic Plan | $39/month |
| Domain name | ~$14/year |
| Delivery App (e.g., SendOwl) | $15–$39/month |
| Optional marketing budget | $50–$200/month |
| Total Initial Investment | $70–$300 (basic setup) |
🧠 Final Tips
- Start small—test with 3 to 5 courses.
- Track conversions and optimize.
- Focus on building an email list and providing real value in your niche.
- As you grow, consider creating your own course to boost profits further.
🎯 Conclusion
You don’t need to create courses to make money from them. With Shopify and the dropshipping model for digital education, you can build a profitable business by connecting learners to high-quality content—earning commissions along the way.

Leave a comment