If you’ve heard people in digital marketing talk about GHL, they are referring to GoHighLevel. It’s an all-in-one marketing and sales platform designed to help businesses manage leads, create funnels, run campaigns, and automate tasks—all from a single dashboard. Whether you’re a freelancer, agency owner, or small business, GHL can save you time and boost your conversions.
In this article, you’ll learn what GHL is, why it’s useful, and how to build funnels step-by-step in GoHighLevel.
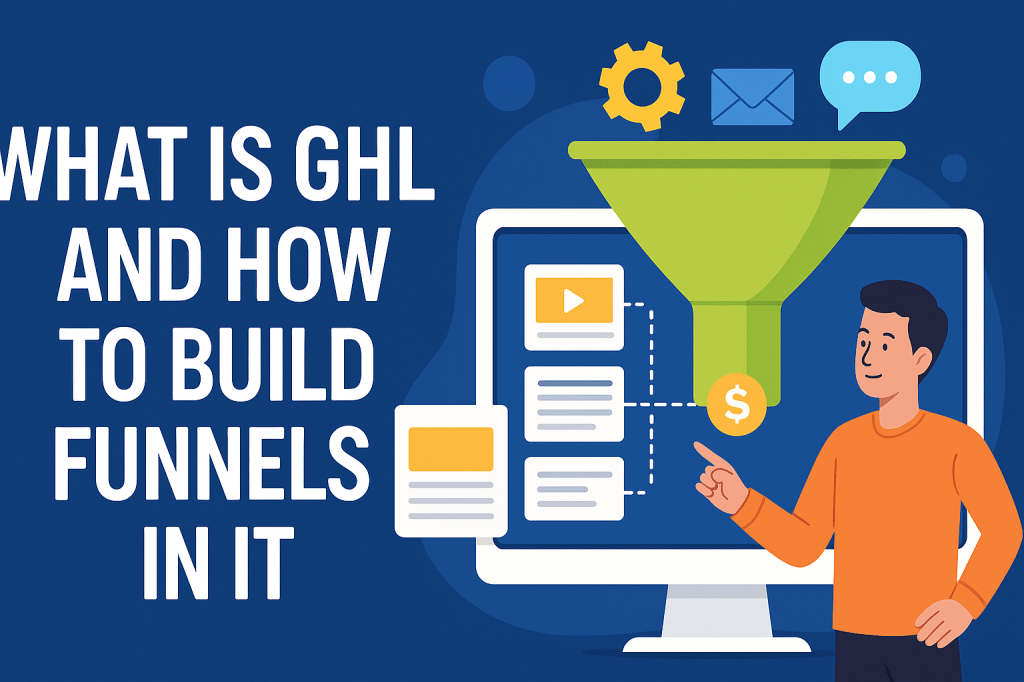
What Is GHL (GoHighLevel)?
GoHighLevel is a powerful marketing software used by businesses and agencies to automate marketing, manage customers, and build funnels. Think of it as a bundle of tools under one roof.
Key Things GHL Can Do:
- Build landing pages and funnels
- Manage contacts using a CRM
- Automate marketing campaigns
- Send email and SMS messages
- Create websites
- Build memberships and courses
- Track leads and appointments
- Run pipelines for sales
Simple Example
Let’s say you run a fitness coaching business. You can use GHL to:
- Create a funnel to collect leads
- Send automated welcome emails
- Book appointments
- Follow up with text reminders
All of this happens inside one system—no need to use 10 different apps.
Why Funnels Matter in GHL
A funnel is a step-by-step journey designed to guide a visitor toward a specific action, such as:
- Signing up for a free offer
- Booking a call
- Buying a product
- Joining a webinar
Funnels help convert strangers into leads and then into paying customers.
GHL makes funnel building very easy because of its drag-and-drop editor and built-in marketing features.
How to Build Funnels in GHL (Step-By-Step)
Below is a beginner-friendly guide to building funnels inside GoHighLevel.
Step 1: Log In to Your GHL Dashboard
Once you sign in, you’ll land on the main dashboard. From the menu, click Sites → Funnels.
Step 2: Create a New Funnel
Click on “New Funnel” at the top right.
You’ll have two options:
- Start from scratch
- Use a ready-made template
Tip: If you’re new, templates make everything easier.
Step 3: Add Funnel Steps
GHL lets you create multiple pages (steps) inside your funnel. Common steps include:
- Opt-in Page
Collects email or phone number. - Thank-You Page
Confirms the submission. - Sales Page
Shows your product or offer. - Checkout Page
Lets people pay. - Upsell/Downsell Pages
Gives additional offers. - Confirmation Page
Shows purchase details.
You can add or remove pages anytime.
Step 4: Edit Your Pages (Drag & Drop Editor)
Click any funnel step to open the page editor. You can drag and drop elements such as:
- Headings
- Text
- Images
- Videos
- Buttons
- Forms
- Testimonials
- Countdown timers
Example:
If you’re collecting leads, add a form for name and email and place a call-to-action button below it.
Step 5: Connect Your Form
Go to Form Builder and make sure the form fields (like email or phone) are connected to your contact list.
This ensures every lead goes into your CRM automatically.
Step 6: Add Automations
This is where GHL becomes powerful.
You can set up automations such as:
- Send a welcome email
- Trigger an SMS
- Assign lead to a pipeline
- Send reminder emails
- Notify your team
For example, when someone signs up through your funnel, you can automatically send:
“Thanks for joining! Here’s your free guide.”
Step 7: Set Up Your Domain
To make your funnel look professional, add a custom domain in Settings → Domains.
Example:
www.yourbusiness.com/funnel
Step 8: Test Your Funnel
Before launching, test each step:
- Does the form submit?
- Do emails or SMS trigger correctly?
- Are all buttons working?
Testing avoids losing leads later.
Step 9: Go Live
Once everything works, hit Publish and start sending traffic to your funnel from:
- Social media
- Google ads
- Email campaigns
- YouTube
- Blog posts
Key Takeaways
GHL makes funnel building simple even for beginners. With drag-and-drop tools, automations, and CRM features, you can handle everything in one place. If you want to scale your business or agency, learning GHL funnels is a great skill to have.

Leave a comment